Photography is as much an art as it is a science, and mastering your camera settings is key to capturing stunning images. Aperture, ISO, and shutter speed form the "exposure triangle," a fundamental concept in photography. Let’s explore how to adjust these settings in different environments for optimal results.

Understanding the Exposure Triangle
-
Aperture (f-stop): Controls the amount of light entering the lens and affects depth of field. A lower f-number (e.g., f/2.8) creates a shallow depth of field, while a higher f-number (e.g., f/16) keeps more of the image in focus.
-
ISO: Refers to your camera sensor's sensitivity to light. A lower ISO (e.g., 100) produces less noise and sharper images, while a higher ISO (e.g., 3200) is better for low-light situations.
-
Shutter Speed: Determines how long the camera’s sensor is exposed to light. A faster speed (e.g., 1/1000s) freezes motion, while a slower speed (e.g., 1/30s) allows for motion blur or better low-light exposure.

Adjusting Settings in Different Environments
1. Outdoor Daylight Photography
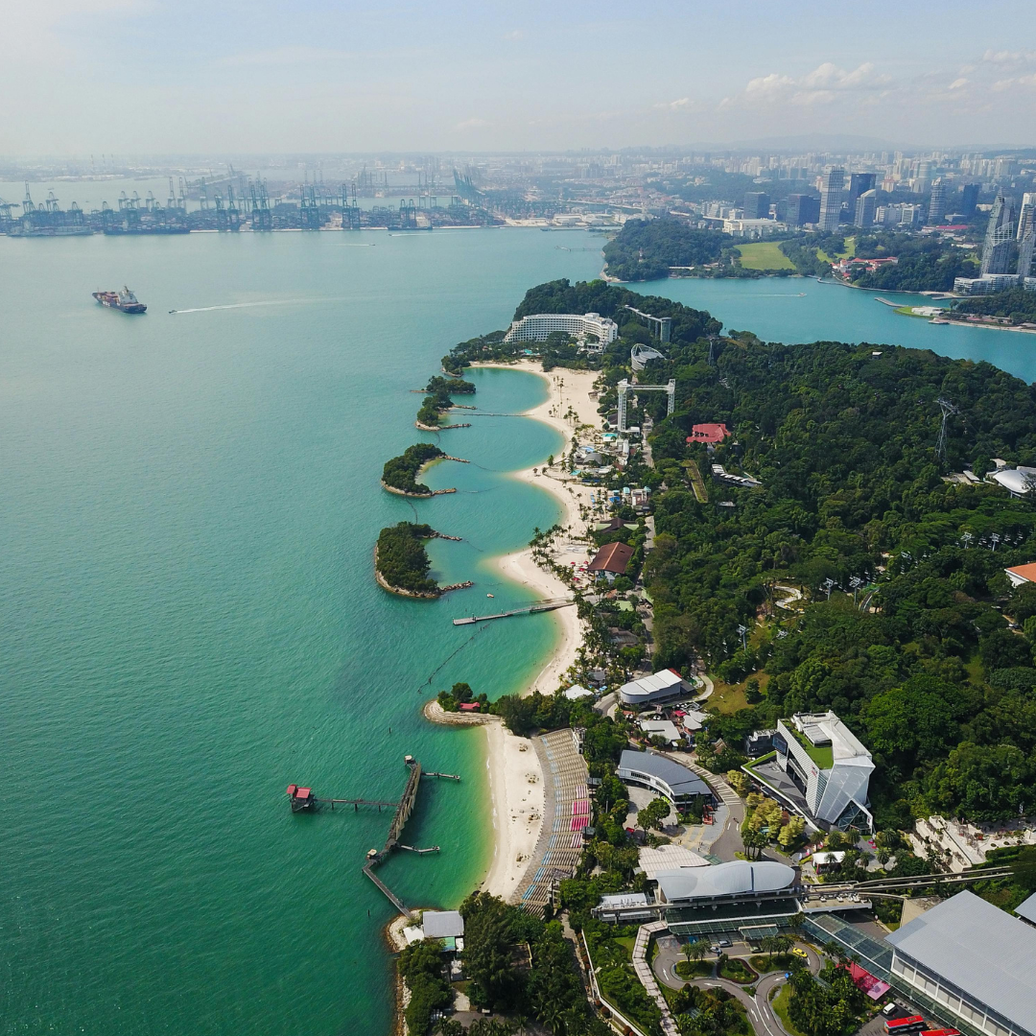
- Aperture: Use a mid-range f-stop (e.g., f/8 to f/16) to capture sharp landscapes with details throughout the scene.
- ISO: Keep ISO low (e.g., 100) for maximum image quality.
- Shutter Speed: Set a faster shutter speed (e.g., 1/250s or higher) to avoid overexposure.
2. Low-Light or Night Photography
- Aperture: Use a wide aperture (e.g., f/2.8) to let in more light.
- ISO: Increase ISO (e.g., 800 to 3200), but be cautious of noise in the image.
- Shutter Speed: Use a slower shutter speed (e.g., 1/10s to several seconds) and stabilize your camera with a tripod to avoid blur.
3. Indoor Photography
- Aperture: A wide aperture (e.g., f/2.8 to f/5.6) helps capture enough light indoors.
- ISO: Moderate ISO (e.g., 400 to 800) works well to balance light without introducing too much noise.
- Shutter Speed: A slightly slower shutter speed (e.g., 1/60s) may suffice for steady shots.

4. Fast-Moving Subjects (Sports or Wildlife)
- Aperture: Use a wide aperture (e.g., f/2.8 to f/4) to isolate the subject and let in ample light.
- ISO: Adjust ISO as needed (e.g., 400 to 1600) depending on the lighting conditions.
- Shutter Speed: Opt for a fast shutter speed (e.g., 1/1000s or faster) to freeze motion.
5. Portrait Photography
- Aperture: A wide aperture (e.g., f/2.8) creates a soft, blurred background.
- ISO: Use a low ISO (e.g., 100 to 400) for crisp and clean images.
- Shutter Speed: A standard shutter speed (e.g., 1/125s) works well for handheld shots.
Pro Tips for Adjusting Camera Settings
- Use Manual Mode: While auto mode is convenient, manual mode gives you complete control over your settings.
- Practice Metering: Understand your camera’s metering modes to properly expose your shots.
- Use a Tripod: For low-light and long exposure photography, a tripod ensures stability.
- Experiment: Take test shots in new environments to find the ideal balance between aperture, ISO, and shutter speed.
Conclusion
Adjusting aperture, ISO, and shutter speed for different environments can transform your photography. Practice these techniques to achieve professional-quality photos, no matter the conditions. With time, you’ll intuitively know how to adapt your camera settings to capture the perfect shot every time.
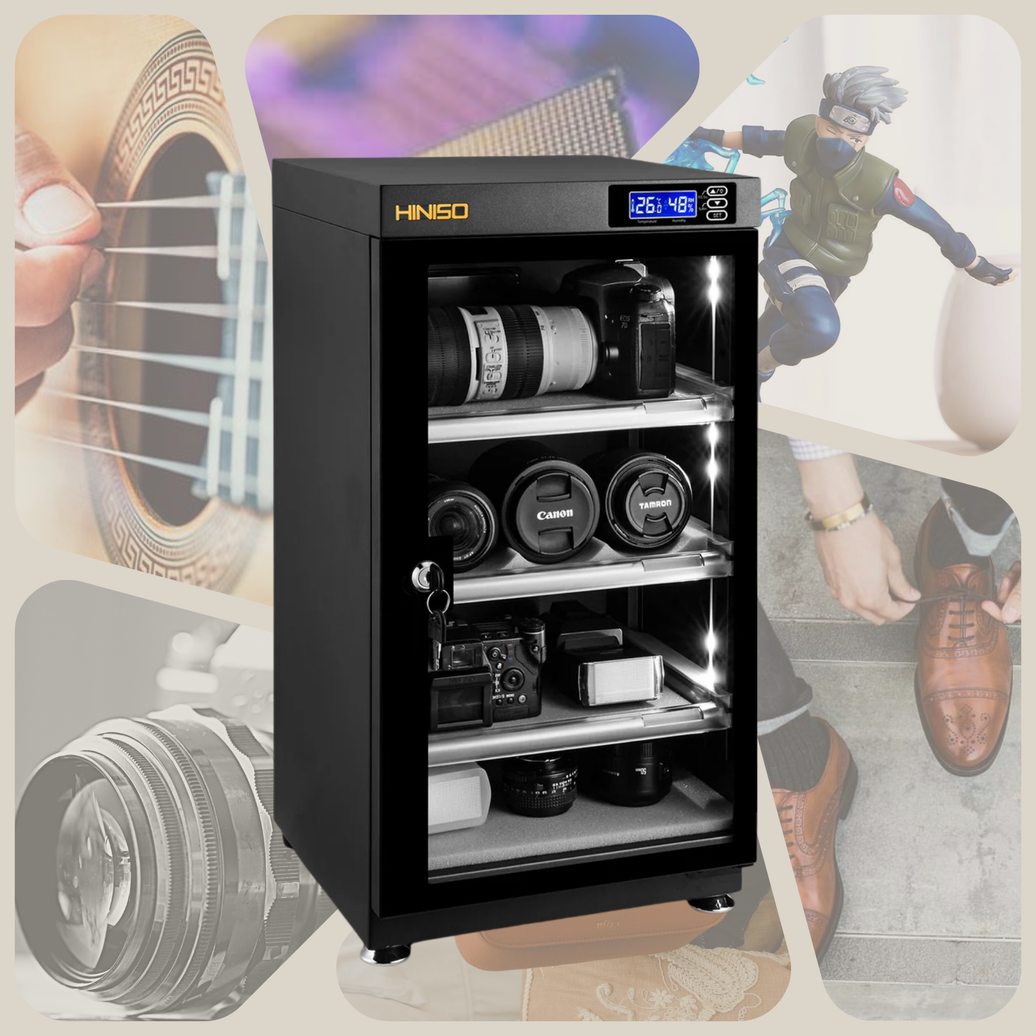
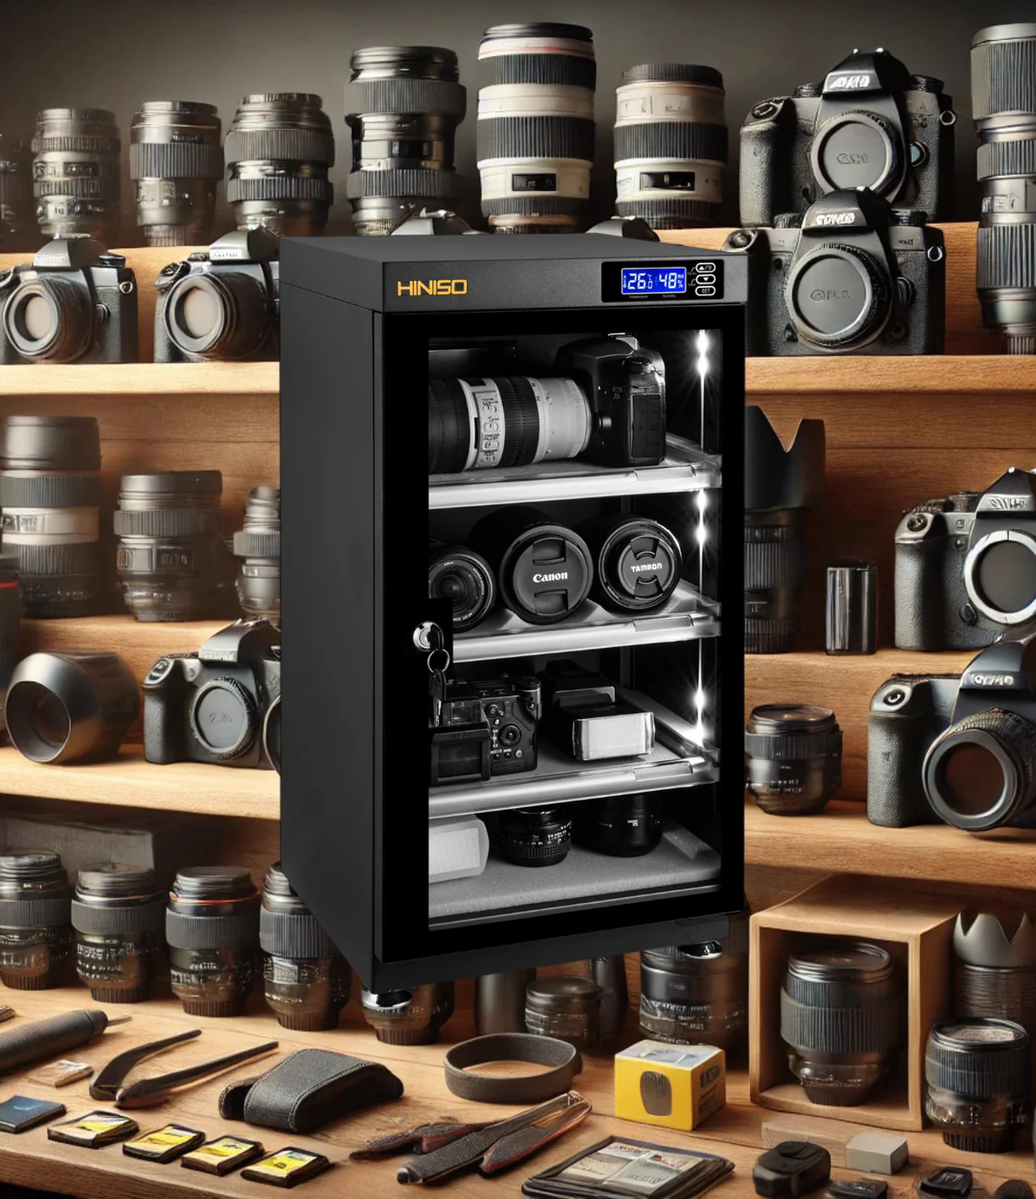
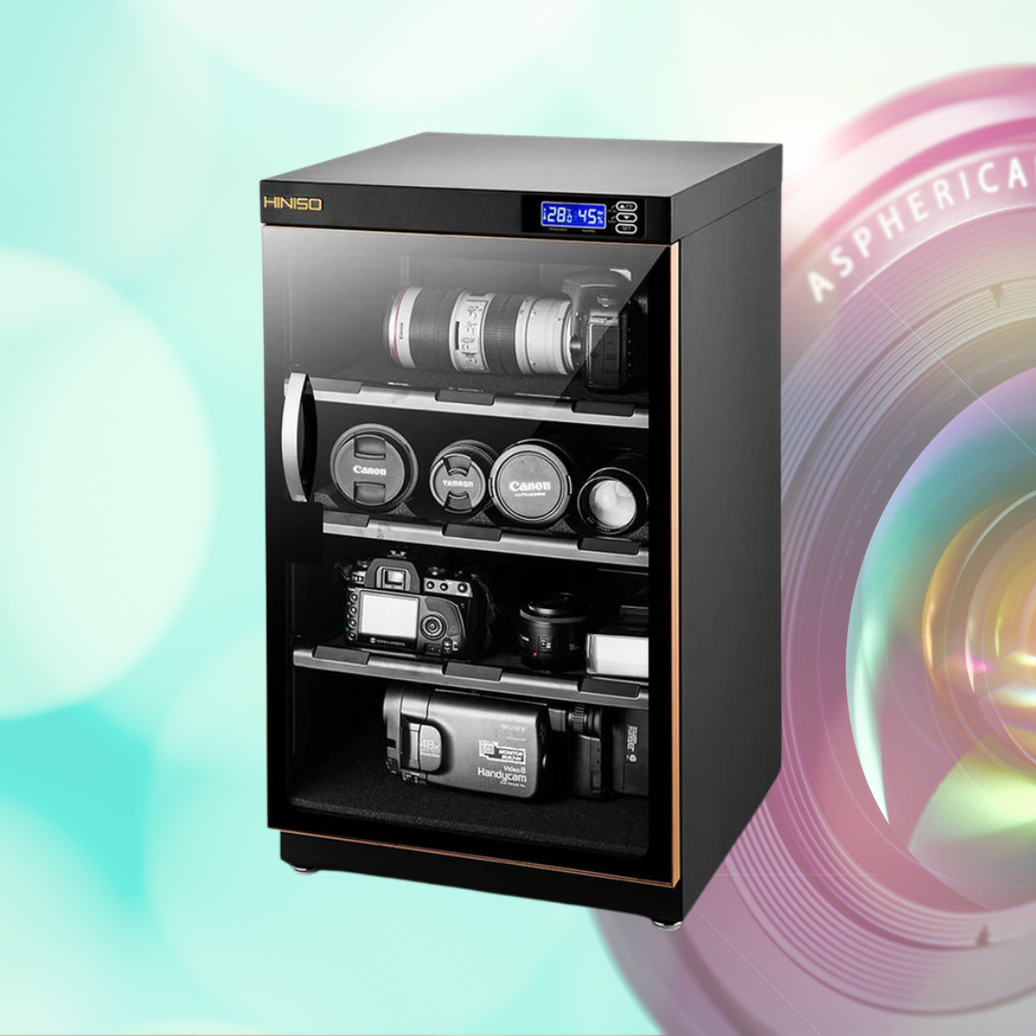
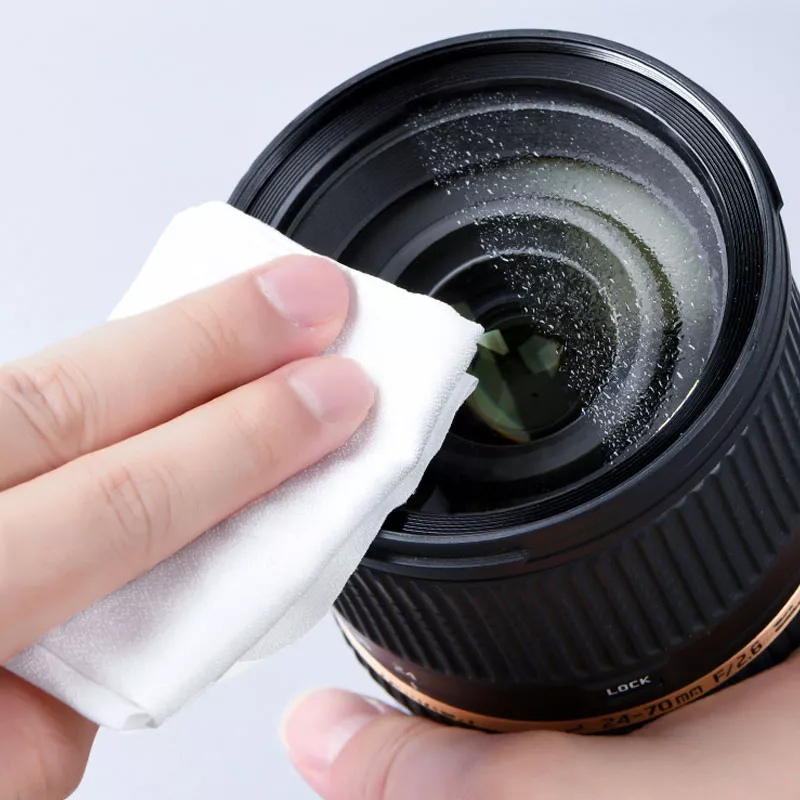
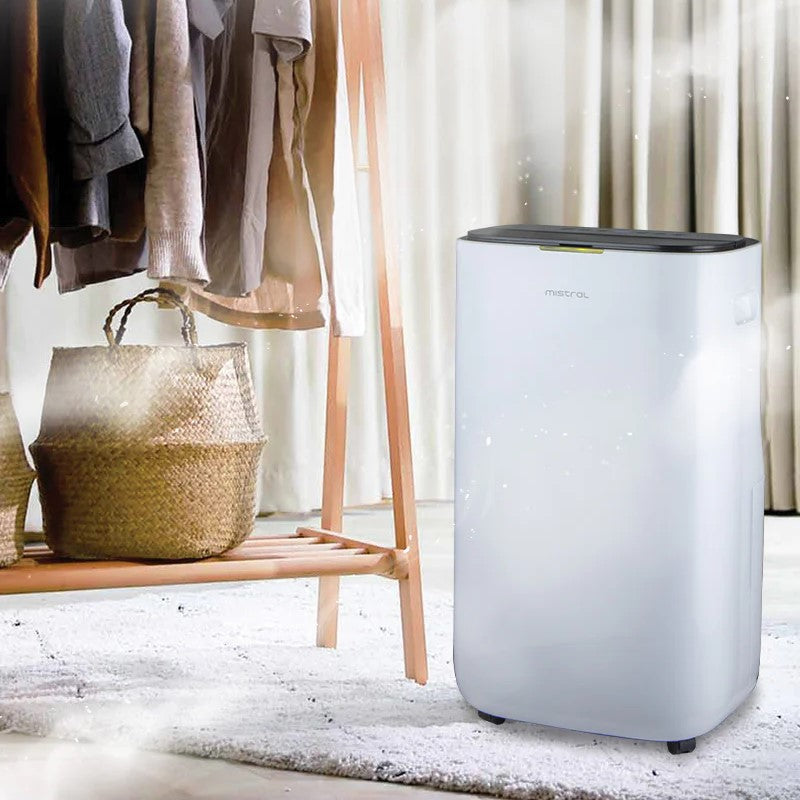
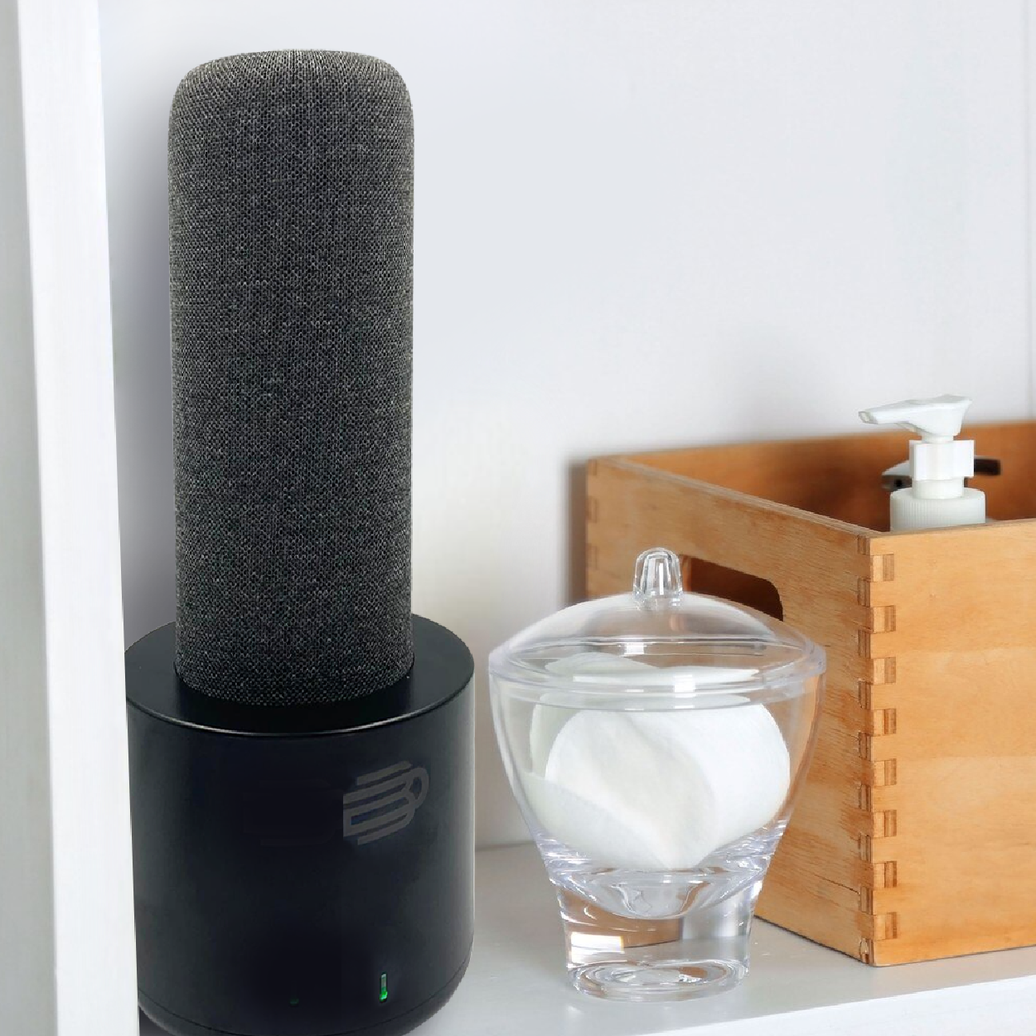
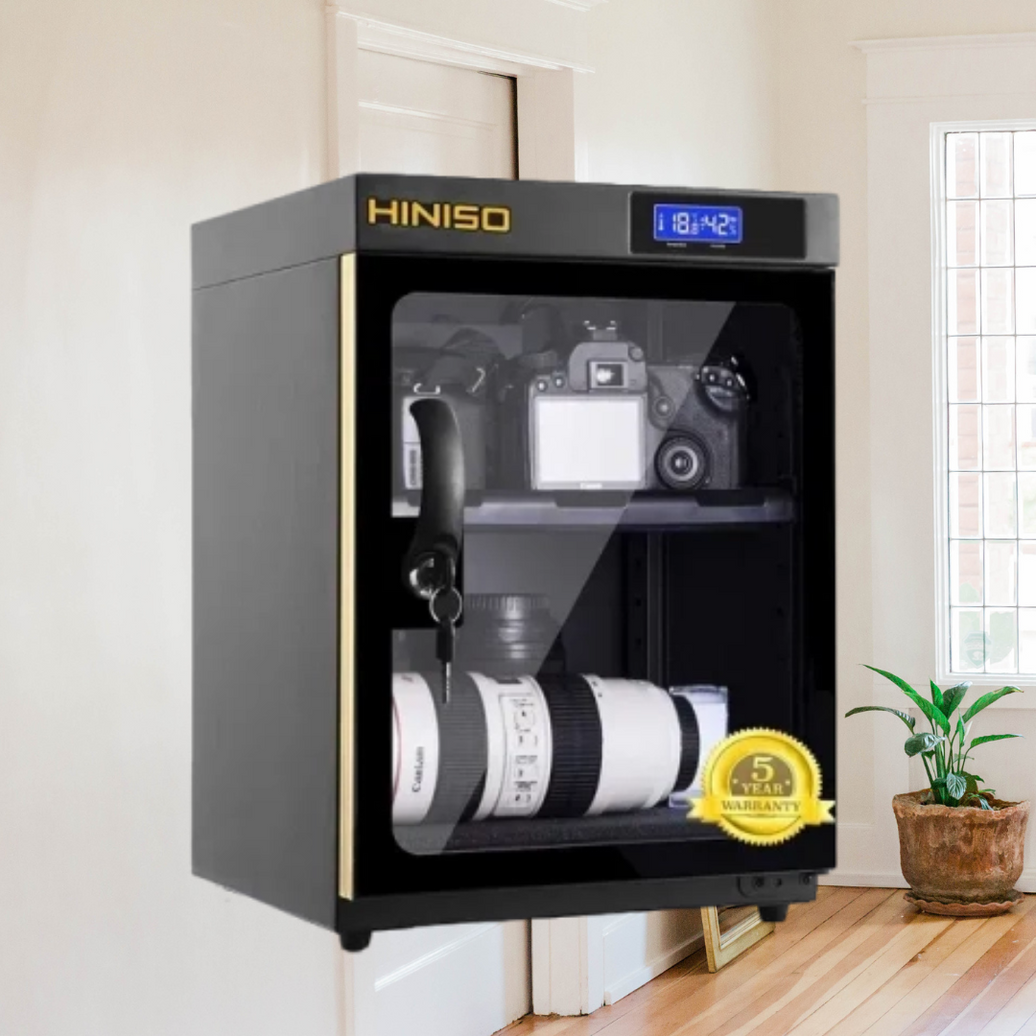
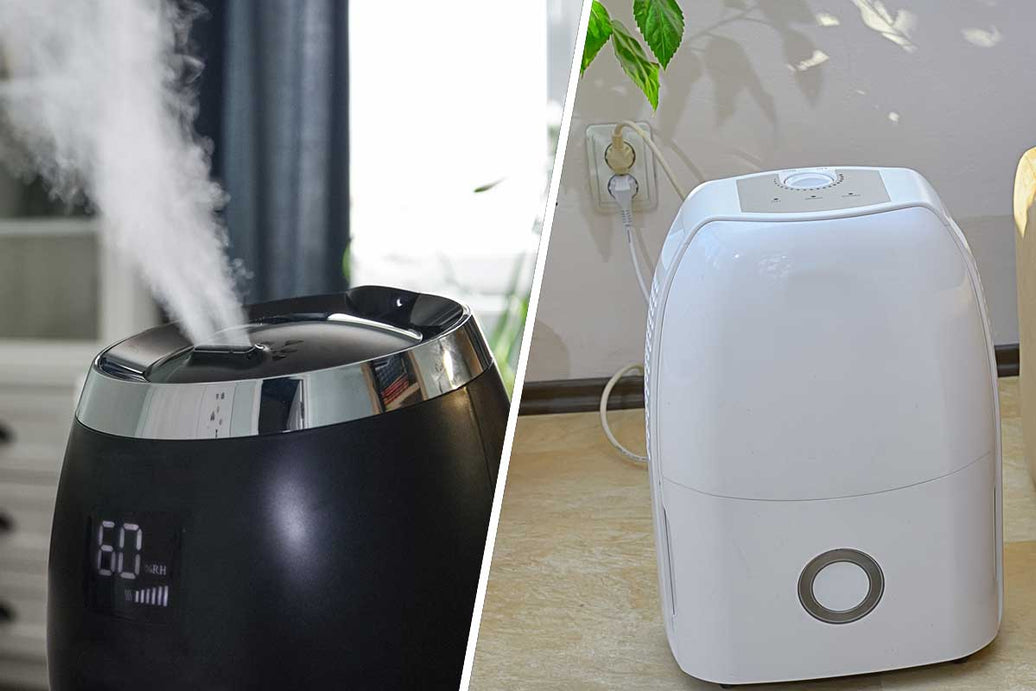
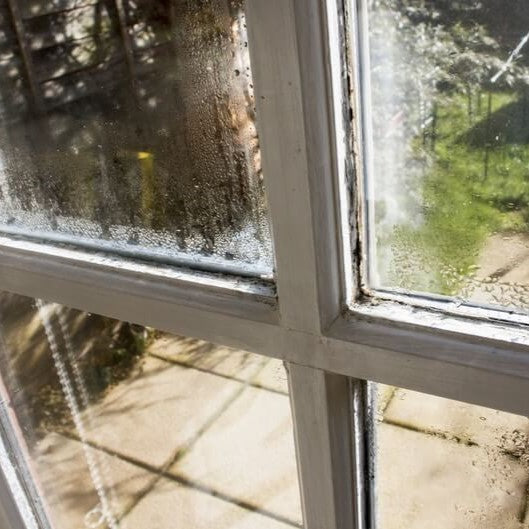
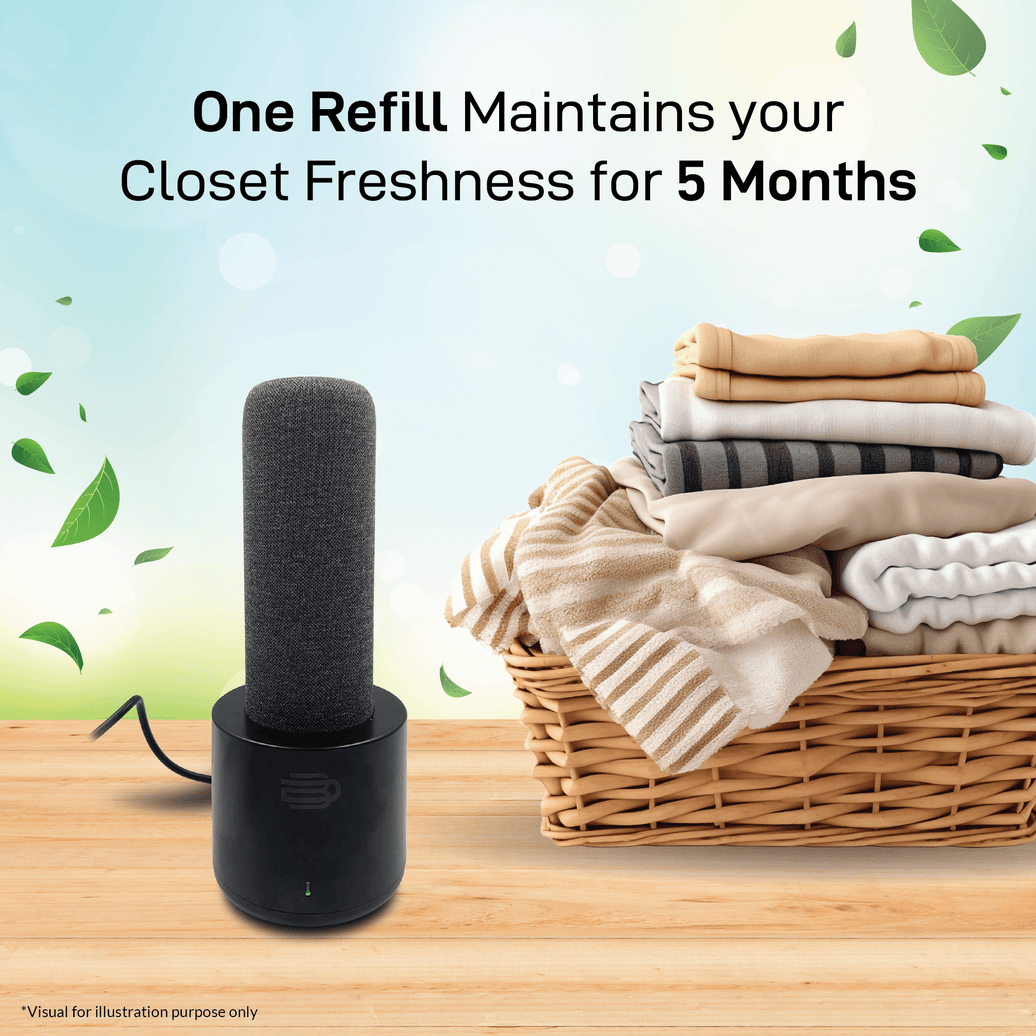
For long-term care of your camera and lenses, it’s essential to store them in a dry cabinet. Proper storage prevents damage from humidity, mold, and dust, ensuring your gear remains in excellent condition and ready for your next adventure. Invest in a reliable dry cabinet to protect your valuable equipment and extend its lifespan.


